1. Deploy PNETLab on Google cloud by APT
Step 1:
Go to https://console.cloud.google.com/home/dashboard
You will have 300$ free in 90 days.
Step 2:
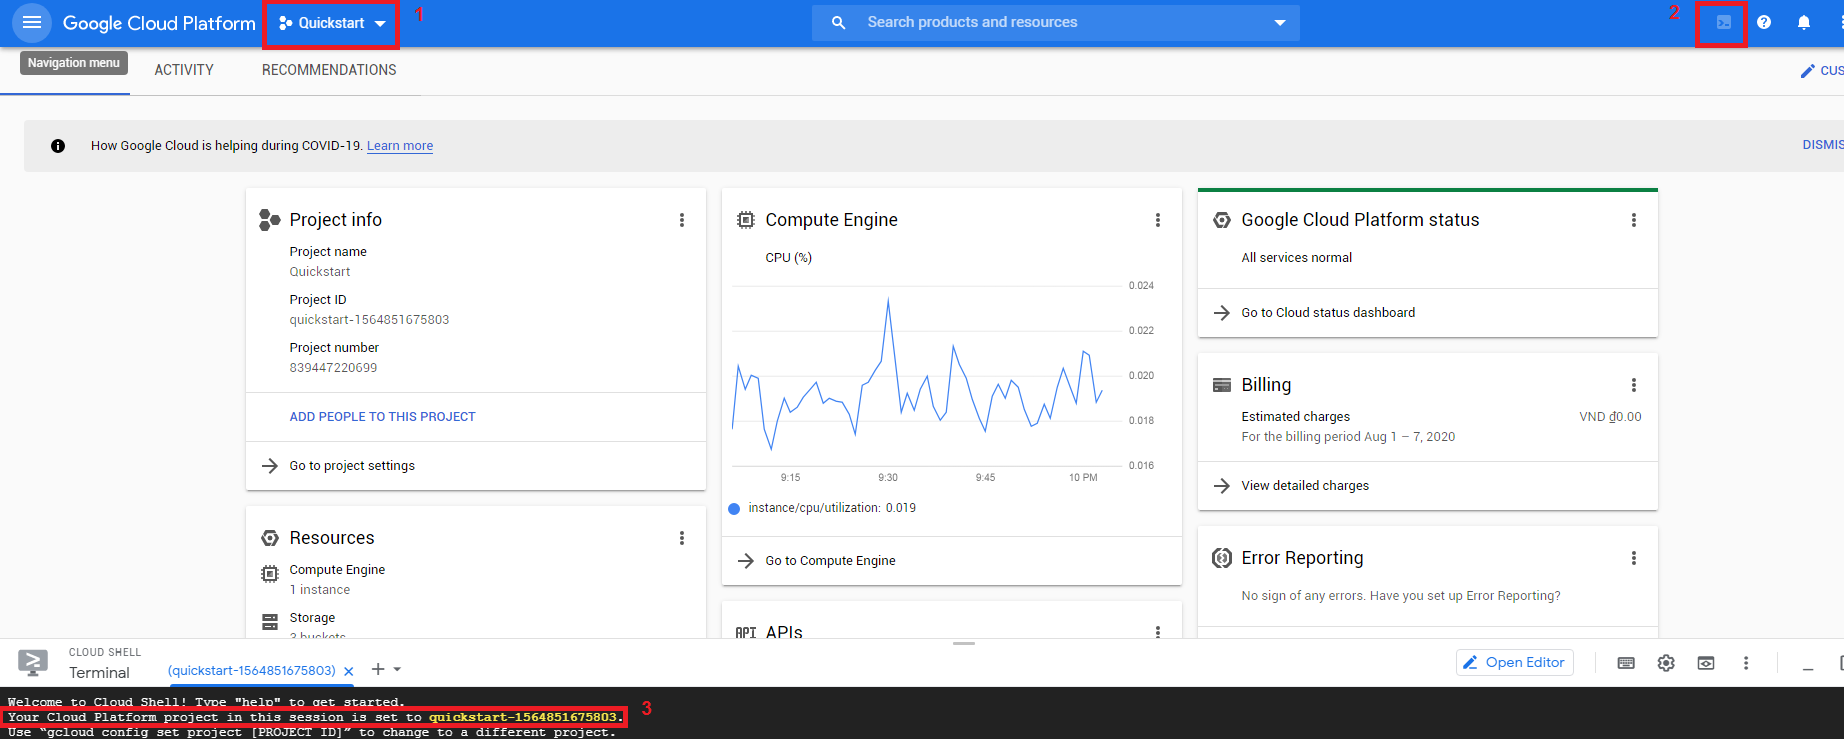
- Select your project
- Click to Button to open terminal
- Make sure the Project ID is set.
Step 3:
Run below command in Terminal.
- gcloud compute images create nested-ubuntu-xenial --source-image-family=ubuntu-1804-lts --source-image-project=ubuntu-os-cloud --licenses https://www.googleapis.com/compute/v1/projects/vm-options/global/licenses/enable-vmx

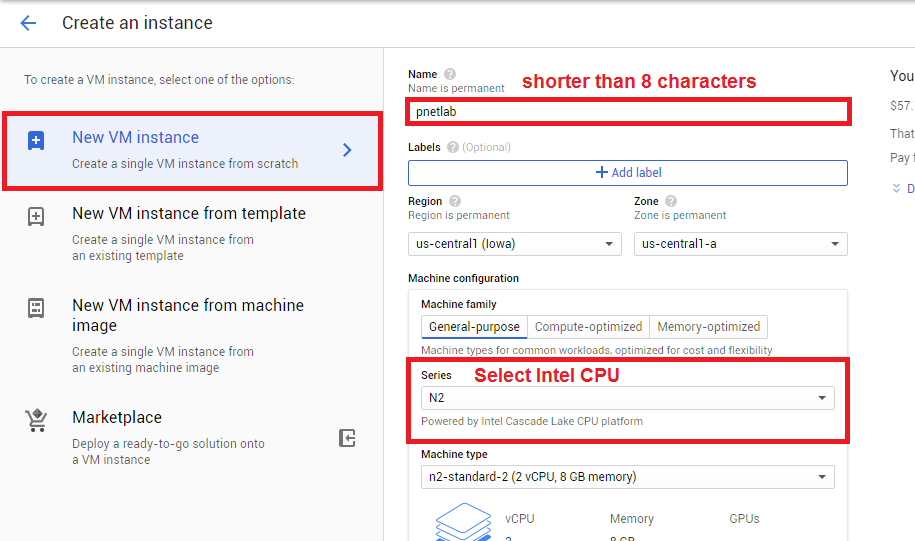
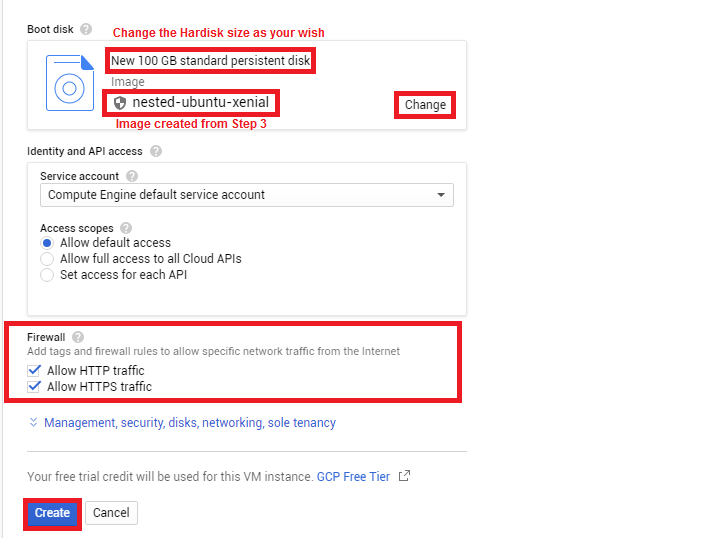
Step 4:
- Create a new VM instance base on the images built from Step 3
Step 5:
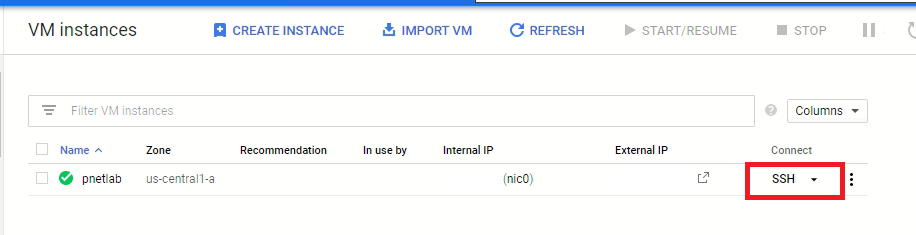
- SSH to Instance run below commands:
- sudo -i
- echo "deb [trusted=yes] http://repo.pnetlab.com ./" | tee -a /etc/apt/sources.list
- apt-get update
- apt-get install pnetlab
- Create Swap memory: (This memory is located on the hard disk. It serves as the support for the RAM in case the RAM is full. It should be set to half of the RAM.)
- sudo -i
- fallocate -l 1G /swapfile (You can change the size of Swap as your wish)
- chmod 600 /swapfile
- mkswap /swapfile
- swapon /swapfile
- cp /etc/fstab /etc/fstab.bak
- echo '/swapfile none swap sw 0 0' | tee -a /etc/fstab
- Config DNS server:
- Edit file /etc/network/interfaces add line dns-nameservers 8.8.8.8 to the configuration of interface pnet0
- For example:
- nano /etc/network/interfaces
- Change like bellow
- iface eth0 inet manual
- auto pnet0
- iface pnet0 inet dhcp
- dns-nameservers 8.8.8.8
- bridge_ports eth0
- bridge_stp off
- save: ctrl + X > y > enter
- Restart network service: service networking restart
- Update Kernel:
- sudo -i
- rm /etc/default/grub.d/50-cloudimg-settings.cfg
- update-grub
- reboot
- System > System setting > Click on Fixpermissions Button.
- Change Root password:
- sudo -i
- passwd
- fill your password
- Check virtualization enable by command: grep -cw vmx /proc/cpuinfo It should return 1 or number of CPU core you selected
- Now you can access to PNETLab box by External IP. (access by http not https)
- Follow this guide to upgrade PNETLab to the latest version: https://pnetlab.com/pages/documentation?slug=how-to-upgrade-pnetlab
Note:
- To console to device you have switch to HTML Console at the right menu
- The default account is : root/eve. Please change the pass because your box is public.
- All devices on the labs should have password when console to them.
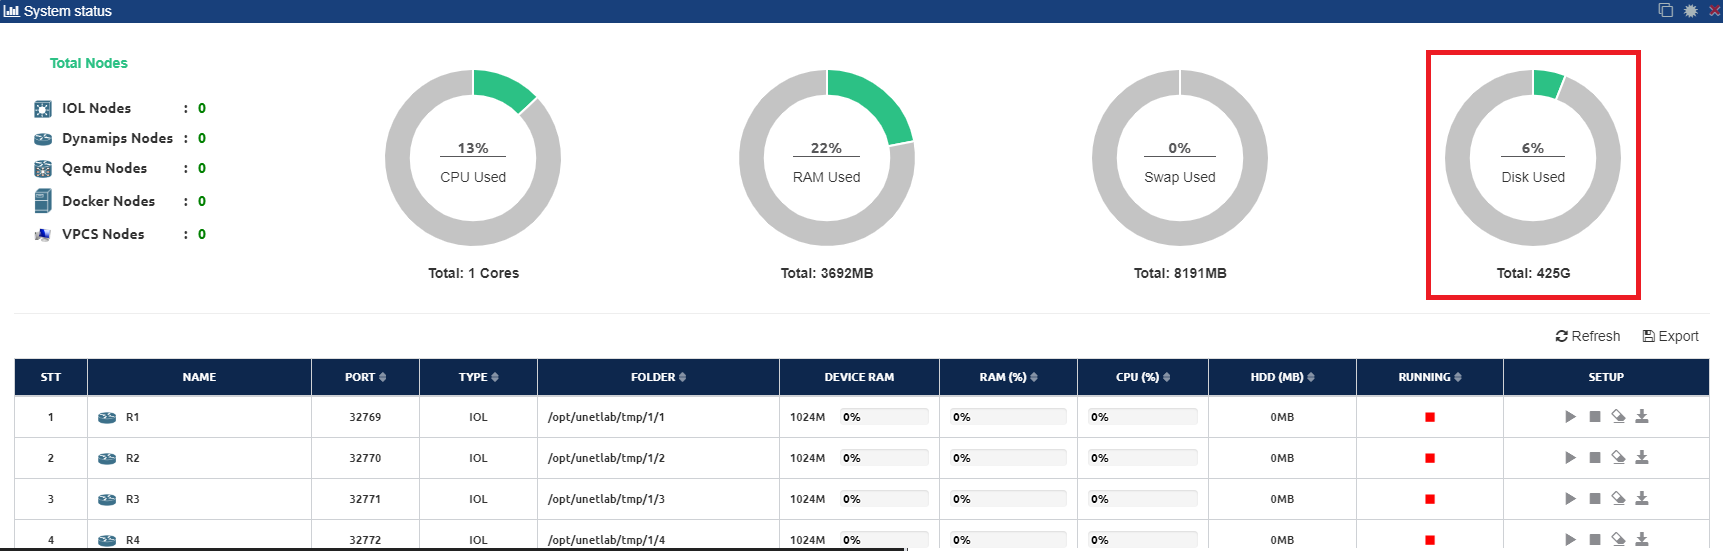
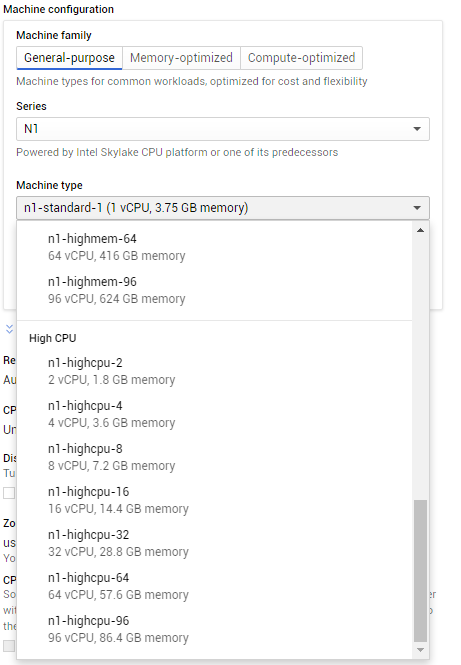
2. Expand RAM, CPU, HDD
To edit Ram, CPU, HDD you need to shut PNETLab down first then click on Edit button.

- RAM and CPU are attached together. You can drop down and select one of those options. ( Note:The higher the ram and the CPU, the more money you will lose. Choose enough for you)
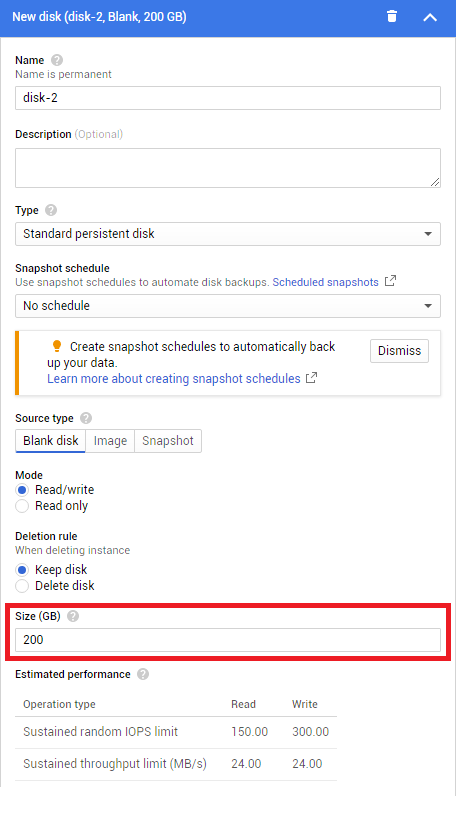
- To expand the hard disk click on Add new Disk button.
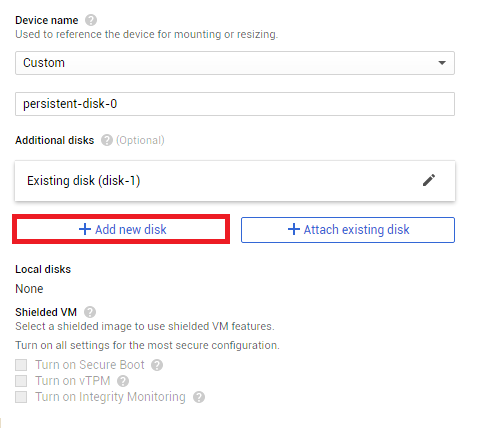
Note:
- To save money and trial time. Please choose as small as possible
- 200G is the minimum that google recommends so as not to lose performance
- Very easy to add more hard disk, but very difficult to remove a hard disk. It can crash your PNETLab instance.
- Click on Save button and start it again.
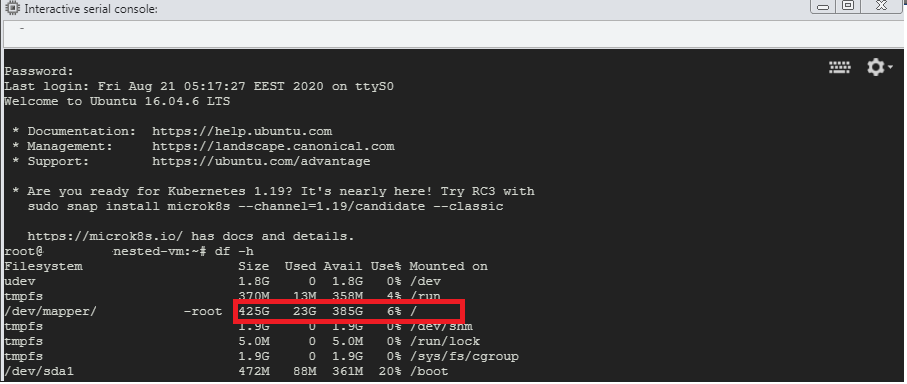
- Check to confirm new HDD by command: df -h